Install Debian Bookworm with Encrypted Root-on-ZFS
Debian 12 aka "Bookworm" is the latest stable release of the popular Linux operating system, created by volunteers of one of the largest and longest-running free software projects in the world. There are three release branches: stable (code-named Bookworm), testing (Trixie), and unstable (Sid).
I use the Debian live install image to create an encrypted, console-only base configuration using the OpenZFS file system that can be customized further for various tasks.
This is how I do it...
1. Let's go!
1.1 Setup
- Target device is
x86_64architecture - UEFI boot with ZFSBootMenu as bootloader
- Debian is the sole OS on a single disk (example: sda)
- Root ZFS file system with native encryption
- GPT partition table with 3 partitions:
- sda1 = Size:
1GB; Format:vfat; Use as:EFI system partition - sda2 = Size:
<equal to RAM on target device>; Format:swap; Use as:encrypted swap - sda3 = Size:
->END; Format:zfs; Use as:encrypted ZFS pool
- sda1 = Size:
1.2 Download
The latest live ISO amd64 install images are available here: cdimage.debian.org
Download debian-live-<version>-amd64-standard.iso and SHA256SUMS.
On a Linux-based system, verify the image:
$ sha256sum -c --ignore-missing SHA256SUMS 1.3 Prepare install media
Prepare a USB storage drive as an installer using one of these two methods:
Method 1: Ventoy
I now use Ventoy to setup a USB device to be a multiboot installer. Simply copy an iso to the device, reboot, and the auto-generated menu lists all the disk images available to boot. Read more
Method 2: dd
Write the installer to an unmounted USB storage device using the dd command as root.
BE VERY CAREFUL TO NOTE THE PROPER DEVICE. ALL DATA ON THE DEVICE WILL BE OVERWRITTEN.
Example: On a Linux system, if a USB stick appears as sdx1, then write the installer to sdx (no partition number):
# dd if=/path/to/debian-live-<version>-amd64-standard.iso of=/dev/sdX bs=1M status=progress
$ sync
2. Configure live environment
2.1 Boot
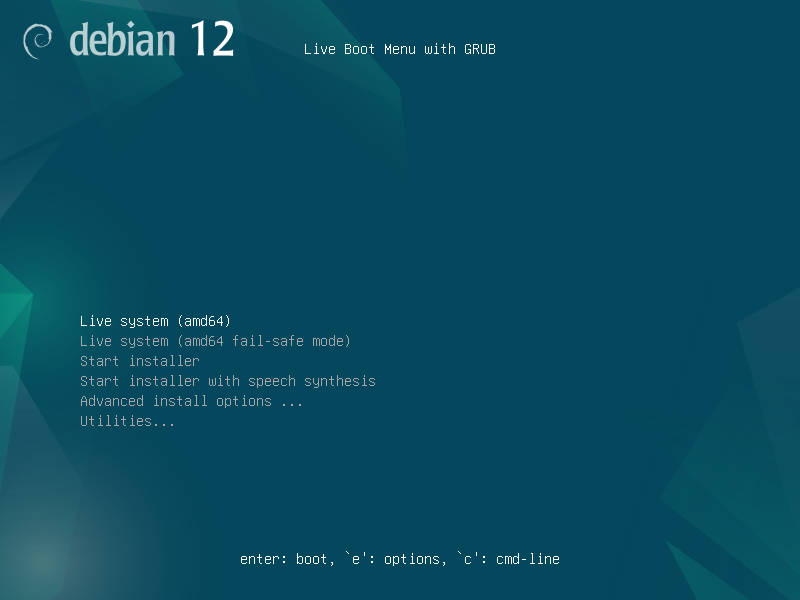
Press Enter to boot the first menu item: Live system (amd64)
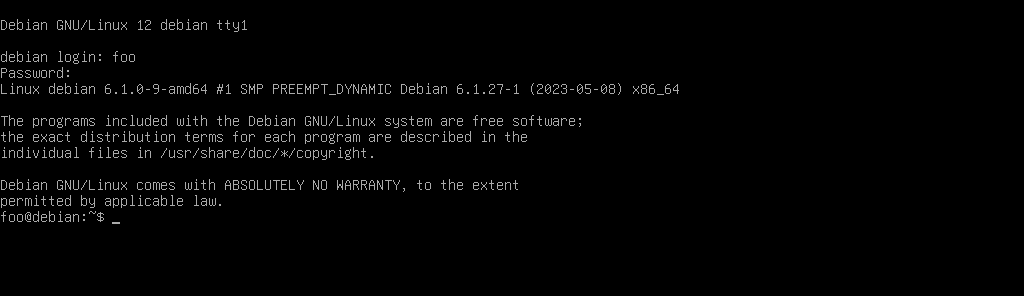
debian login: user (automatic login)Switch to a root shell:
$ sudo -iConfirm EFI support:
# dmesg | grep -i efivars
[    0.301784] Registered efivars operations
2.2 Network
By default, wired (ethernet) interfaces are configured for auto-detection and use DHCP.
Display all detected network interfaces along with their IP and MAC addresses:
# ip addrDebian's network interfaces are configured in /etc/network/interfaces and controlled by the ifup and ifdown commands.
2.3 (Optional) Remote login to installer
I make this manual install process easier (cut-n-paste commands; lookup info online) by remotely logging into the installer via SSH from another computer.
Install the SSH server:
# apt update && apt install -y openssh-serverSSH server is auto-launched after install.
Assign password to user:
# passwd userSwitch to the other computer and SSH into the target device as user:
$ ssh user@<target_device_ip_address>Switch to root:
$ sudo -i2.4 Keymap
Default console keymap is US QWERTY.
For a different keymap, install:
# apt install -y console-dataAvailable keymaps are listed in /usr/share/keymaps/.
Select a different keymap by running:
# dpkg-reconfigure keyboard-configuration
# setupcon
2.5 Console font
Discover available fonts in /usr/share/consolefonts.
Default font in the installer might prove too small on high resolution displays. Set and display a larger font (example: Lat15-TerminusBold22x11) for the current session:
# setfont Lat15-TerminusBold22x112.6 Configure package manager
# cat <<EOF > /etc/apt/sources.list
> deb http://deb.debian.org/debian bookworm main contrib non-free non-free-firmware
> deb-src http://deb.debian.org/debian bookworm main contrib non-free non-free-firmware
> deb http://deb.debian.org/debian-security/ bookworm-security main contrib non-free non-free-firmware
> deb [trusted=yes] file:/run/live/medium bookworm main non-free-firmware
> EOF
Update package database:
# apt update2.7 Install extra packages
# apt install -y debootstrap gdisk parted zfs-dkms zfs-zed zfsutils-linuxVerify module:
# modprobe zfs && zfs version2.8 Source os-release
File /etc/os-release defines variables that describe the current operating system. Use the $ID variable to set the short name of the distribution in later commands:
# . /etc/os-release
# export ID
2.9 Generate hostid
Note: This value must be unique among your systems.
Use zgenhostid(8) to create /etc/hostid and store the host ID in it.
Record a custom hostid and overwrite the file if it exists:
# zgenhostid -f "0x$( date +%s | cut -c1-8 )"3. Prepare DISK
3.1 Define DISK variables
Identify the disk where Debian will be installed by listing block devices:
# lsblk -fSet DISK variables for either a SATA or NVMe device:
SATA (example: sda)
# export DISK="/dev/sda"
# export BOOT_PART="1"
# export SWAP_PART="2"
# export POOL_PART="3"
# export BOOT_DEVICE="${DISK}${BOOT_PART}"
# export SWAP_DEVICE="${DISK}${SWAP_PART}"
# export POOL_DEVICE="${DISK}${POOL_PART}"
NVMe (example: nvme0n1)
# export DISK="/dev/nvme0n1"
# export BOOT_PART="1"
# export SWAP_PART="2"
# export POOL_PART="3"
# export BOOT_DEVICE="${DISK}p${BOOT_PART}"
# export SWAP_DEVICE="${DISK}p${SWAP_PART}"
# export POOL_DEVICE="${DISK}p${POOL_PART}"
3.2 Wipe DISK
Before creating the new partition layout, wipe the DISK:
# wipefs -a $DISK
# sgdisk --zap-all --clear $DISK
# partprobe $DISK && sgdisk -p $DISK
3.3 Partition DISK
List partition type codes:
# sgdisk --list-typesCreate EFI boot partition:
# sgdisk -n "${BOOT_PART}:1m:+1g" -t "${BOOT_PART}:ef00" -c 0:esp $DISKCreate swap partition (example size: 16GB):
# sgdisk -n "${SWAP_PART}:0:+16g" -t "${SWAP_PART}:8200" -c 0:swap $DISKCreate zpool partition:
# sgdisk -n "${POOL_PART}:0:-10m" -t "${POOL_PART}:bf00" -c 0:pool $DISKDisplay layout:
# partprobe $DISK && sgdisk -p $DISK4. ZFS pool creation
4.1 Keyfile
Store pool passphrase in a keyfile:
# echo 'SomeKeyphrase' > /etc/zfs/zroot.key
# chmod 000 /etc/zfs/zroot.key
4.2 Define POOL_ID variable
When adding disks or partitions to ZFS pools, its important to use their symbolic links created in (on BIOS systems) /dev/disk/by-id or (available on UEFI systems) /dev/disk/by-partuuid. This will ensure that ZFS identifies the correct device even if disk naming should change at some point. Using traditional device nodes like /dev/sda3 may cause import failures.
I create variable POOL_ID to hold the PARTUUID of $POOL_DEVICE on my UEFI system:
# export POOL_ID=/dev/disk/by-partuuid/$( lsblk -o PATH,PARTUUID | grep $POOL_DEVICE | awk '{ print $NF }' )4.3 Create pool
Create the encrypted ZFS pool with zpool-create(8):
# zpool create -f -m none \
  -o ashift=12 \
  -o autotrim=on \
  -o compatibility=openzfs-2.1-linux \
  -o feature@lz4_compress=enabled \
  -O acltype=posix \
  -O xattr=sa \
  -O compression=lz4 \
  -O encryption=aes-256-gcm \
  -O keyformat=passphrase \
  -O keylocation=file:///etc/zfs/zroot.key \
  -O relatime=on zroot $POOL_ID
Note: From the ZFSBootMenu Guide:
The option "-o compatibility=openzfs-2.1-linux" is a conservative choice. It can be omitted or otherwise adjusted to match your specific system needs... Future releases of ZFSBootMenu may therefore support newer feature sets.
4.4 Create file systems
# zfs create -o mountpoint=none zroot/ROOT
# zfs create -o mountpoint=/ -o canmount=noauto zroot/ROOT/${ID}
# zfs create -o mountpoint=/home zroot/home
# zpool set bootfs=zroot/ROOT/${ID} zroot
4.5 Export and re-import the pool
# zpool export zroot
# zpool import -N -R /mnt zroot
# zfs load-key -L prompt zroot
4.6 Temporary mount points
# zfs mount zroot/ROOT/${ID}
# zfs mount zroot/home
Verify:
# mount -t zfs
zroot/ROOT/debian on /mnt type zfs (rw,relatime,xattr,posixacl)
zroot/home on /mnt/home type zfs (rw,relatime,xattr,posixacl)
Update device symlinks:
# udevadm trigger5. Install Debian
5.1 Bootstrap
# debootstrap bookworm /mntCopy files into the new install:
# cp /etc/hostid /mnt/etc/
# cp /etc/resolv.conf /mnt/etc/
# mkdir /mnt/etc/zfs
# cp /etc/zfs/zroot.key /mnt/etc/zfs/
Mount:
# mount -t proc proc /mnt/proc
# mount -t sysfs sys /mnt/sys
# mount -B /dev /mnt/dev
# mount -t devpts pts /mnt/dev/pts
5.2 Chroot into the new OS
# chroot /mnt /bin/bash5.3 Set root password
# passwd5.4 Set hostname
Example name debian:
# echo debian > /etc/hostname
# echo -e '127.0.1.1\tYOURHOSTNAME' >> /etc/hosts
5.5 Package repositories
Debian uses separate archives to distinguish between software packages based on their licenses:
- Main is enabled by default and includes everything that satisfies the conditions of the Debian Free Software Guidelines.
- Contrib packages are open-source themselves but rely on software in non-free to work.
- Non-free contains packages that do not meet all the conditions of the DFSG but can be freely distributed.
- Non-free-firmware (introduced in Debian 12) contains non-free firmware binaries packaged for devices that would be completely non-functional without them (example: many wireless cards).
- Backports contains packages drawn from the testing (and sometimes unstable) archive and modified to work in the current stable release.
All backports are disabled by default (to prevent unintended system upgrades) and are installed on a per PACKAGE basis by running:
# apt -t bookworm-backports install PACKAGEModify /etc/apt/sources.list to add contrib, non-free, non-free-firmware, and backports:
# cat <<EOF > /etc/apt/sources.list
> deb http://deb.debian.org/debian/ bookworm main contrib non-free non-free-firmware
> deb-src http://deb.debian.org/debian/ bookworm main contrib non-free non-free-firmware
>
> deb http://security.debian.org/debian-security bookworm-security main contrib non-free non-free-firmware
> deb-src http://security.debian.org/debian-security bookworm-security main contrib non-free non-free-firmware
>
> deb http://deb.debian.org/debian/ bookworm-updates main contrib non-free non-free-firmware
> deb-src http://deb.debian.org/debian/ bookworm-updates main contrib non-free non-free-firmware
>
> deb http://deb.debian.org/debian/ bookworm-backports main contrib non-free non-free-firmware
> deb-src http://deb.debian.org/debian/ bookworm-backports main contrib non-free non-free-firmware
> EOF
Any time sources.list is modified its necessary to update the package database:
# apt update5.6 Install kernel and extra packages
# apt install -y linux-image-amd64 linux-headers-amd64 zfs-initramfs console-setup cryptsetup curl dosfstools efibootmgr locales
# echo "REMAKE_INITRD=yes" > /etc/dkms/zfs.conf
(Optional) Network manager
Install a network manager utility. Package network-manager provides the nmcli console client. Comment out (deactivate) any entries in interfaces that will be managed by network-manager.
5.7 Configure locales
# dpkg-reconfigure locales6. ZFS configuration
6.1 Configure initramfs-tools
# echo "UMASK=0077" > /etc/initramfs-tools/conf.d/umask.confSince the encryption key is stored in the /etc/zfs directory, it will automatically be copied into the initramfs.
Rebuild initramfs:
# update-initramfs -u -k all6.2 Enable systemd services
# systemctl enable zfs.target
# systemctl enable zfs-import-cache
# systemctl enable zfs-mount
# systemctl enable zfs-import.target
6.3 Prepare EFI partition
Create a vfat filesystem on BOOT_DEVICE:
# mkfs.vfat -F32 $BOOT_DEVICECreate an fstab entry for BOOT_DEVICE and mount:
# echo "PARTLABEL=esp   /boot/efi   vfat    defaults    0 0" >> /etc/fstab
# mkdir -p /boot/efi
# mount /boot/efi
6.4 Set ZFSBootMenu properties on datasets
Assign command-line arguments to be used when booting the kernel:
# zfs set org.zfsbootmenu:commandline="quiet" zroot/ROOTConfigure key caching in ZFSBootMenu:
# zfs set org.zfsbootmenu:keysource="zroot/ROOT/${ID}" zroot6.5 Install ZFSBootMenu
Install a prebuilt ZFSBootMenu EFI executable to the EFI system partition:
# mkdir -p /boot/efi/EFI/ZBM
# curl -o /boot/efi/EFI/ZBM/VMLINUZ.EFI -L https://get.zfsbootmenu.org/efi
# cp /boot/efi/EFI/ZBM/VMLINUZ.EFI /boot/efi/EFI/ZBM/VMLINUZ-BACKUP.EFI
6.6 Configure EFI boot entries
# mount -t efivarfs efivarfs /sys/firmware/efi/efivars
# efibootmgr -c -d "$DISK" -p "$BOOT_PART" -L "ZFSBootMenu (Backup)" -l '\EFI\ZBM\VMLINUZ-BACKUP.EFI'
# efibootmgr -c -d "$DISK" -p "$BOOT_PART" -L "ZFSBootMenu" -l '\EFI\ZBM\VMLINUZ.EFI'
7. Debian configuration
7.1 Create user
Example user foo:
# adduser foo7.2 Set timezone
# dpkg-reconfigure tzdata7.3 Console fonts
# dpkg-reconfigure console-setup
# setupcon
7.4 Keyboard
# dpkg-reconfigure keyboard-configuration7.5 Configure encrypted swap
Modify /etc/crypttab:
# echo "swap PARTLABEL=swap /dev/urandom swap,offset=2048,cipher=aes-xts-plain64,size=512" >> /etc/crypttabThis will map /dev/disk/by-partlabel/swap to /dev/mapper/swap as a swap partition that can be added in fstab like a normal swap.
Add swap entry to /etc/fstab:
# echo "/dev/mapper/swap none swap defaults 0 0" >> /etc/fstab8. Finish up
8.1 Exit the chroot
# exit
# umount -l -n -R /mnt
8.2 Export the zpool and reboot
# zpool export zroot
# reboot
8.3 First boot
User is prompted for the passphrase to unlock the encrypted zpool. Upon success, boot resumes...
Welcome to Debian!
9. Resources
- Detailed install guides to configure ZFS + ZFSBootMenu for various Linux distros: ZFSBootMenu Guides: Debian Bookworm (12) UEFI
- Alternate method I use to set up a base Debian install using LUKS + ext4: Minimal Debian
- Encrypted root may pass sensitive information to an unencrypted swap partition that survives a system reboot: Encrypt a swap partition
You can like, share, or comment on this post on Mastodon 💬
» Next: Zram Swap on Debian and LMDE
« Previous: Minimal Debian Bookworm