Virtualization in Void Linux Using KVM + QEMU + Libvirt
Set up a stack of virtualization tools on a Void Linux host for creating and managing virtual machines (VMs).
- 1. Start Here
- 2. Directories
- 3. Permissions
- 4. Services
- 5. Create VM
- 6. Resize VM guest window
- 7. Video Acceleration
- 8. Virsh and Virt-clone
- 9. Resources
1. Start Here
KVM (Kernel-based Virtual Machine) is built into the Linux kernel and handles the CPU and memory details. QEMU (Quick EMUlator) emulates the various hardware components of a physical machine. Finally, libvirt provides the tools for creating and managing VMs. I use virt-manager and virsh as graphical and console interfaces respectively.
First, check whether the host computer's CPU supports virtualization:
egrep -c '(vmx|svm)' /proc/cpuinfoA result of 1 or more means the CPU supports virtualization extensions. A result of 0 means it does not, though double-check the BIOS and see if the extensions are available and just need to be enabled.
Install packages:
sudo xbps-install -S libvirt virt-manager qemu dbus polkitAdd [my_username_goes_here] to the kvm and libvirt groups:
sudo usermod -a -G libvirt,kvm [my_username_goes_here]Log out and back in.
2. Directories
Default directory to store VM images is /var/lib/libvirt/images.
The large amounts of space that these VM images occupy might pose an issue if /var is mounted separately, or its included with the root directory on a relatively small partition (i.e. separate root and home partitions). If this is the case, consider storing VMs on the partition with the greatest amount of free storage and symlink to that location.
Additionally, if using BTRFS or ZFS to make snapshots of root, its probably not desirable to have VMs bulking up the snapshots, nor have them deleted/reverted back to earlier states upon a system rollback.
My installation of Void uses ZFS, so I create a vm dataset to store the VM images:
sudo zfs create -o mountpoint=/vm zroot/vmCreate the images directory:
sudo mkdir -p /vm/libvirt/imagesDelete the existing (empty) images directory and create a symlink to the new location in vm:
sudo rmdir /var/lib/libvirt/images
sudo ln -s /vm/libvirt/images /var/lib/libvirt/images
I also create an iso directory to store ISO install images, accessible to my USER:
sudo mkdir /vm/libvirt/iso
sudo chown $USER:$USER /vm/libvirt/iso
3. Permissions
libvirt.conf
Create libvirt.conf:
mkdir ~/.config/libvirt
cp /etc/libvirt/libvirt.conf ~/.config/libvirt/
Open the file for editing and uncomment:
uri_default = "qemu:///system"Save changes and exit.
qemu.conf
For storage file permissions, modify /etc/libvirt/qemu.conf by setting user to [my_username_goes_here] and group to libvirt:
user = "[my_username_goes_here]"
group = "libvirt"
4. Services
Enable necessary services:
sudo ln -s /etc/sv/dbus /var/service/
sudo ln -s /etc/sv/libvirtd /var/service/
sudo ln -s /etc/sv/virtlockd /var/service/
sudo ln -s /etc/sv/virtlogd /var/service/
5. Create VM
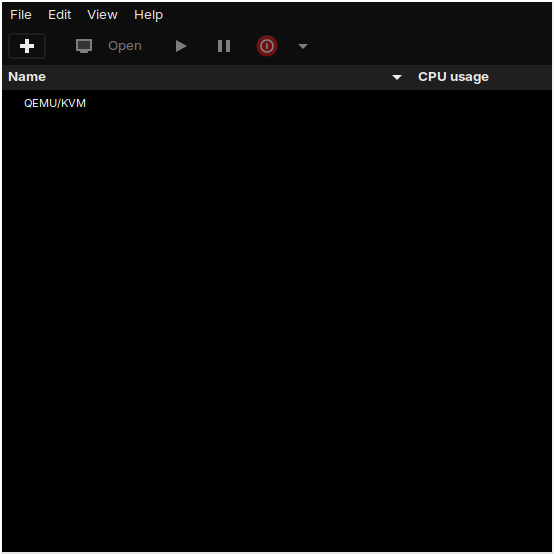
Create a VM using virt-manager. Click the + icon to add a new VM, and work through the series of dialog boxes to configure.
During the creation of a VM, the network selection option defaults to Virtual network 'default': NAT. If the default network is not active, virt-manager will prompt to start it.
Or start manually with:
virsh net-start defaultEach VM (in default network) will be a member of 192.168.122.0/24, with an IP address in the range of 192.168.122.2 to 192.168.122.254, and are accessible via SSH from the host.
6. Resize VM guest window
In the virt-manager console window, navigate to Edit > Preferences > Console and set:
Graphical console scalingtoAlwaysResize guest with windowtoOn
Install a spice agent inside a VM (example: for Debian and Debian-based VMs):
sudo apt install spice-vdagentReboot the VM.
In the VM guest window, navigate to View > Scale display and check Always and Auto resize VM with window.
Now click-and-drag the window edge to resize display, or use xrandr to set display size.
7. Video acceleration
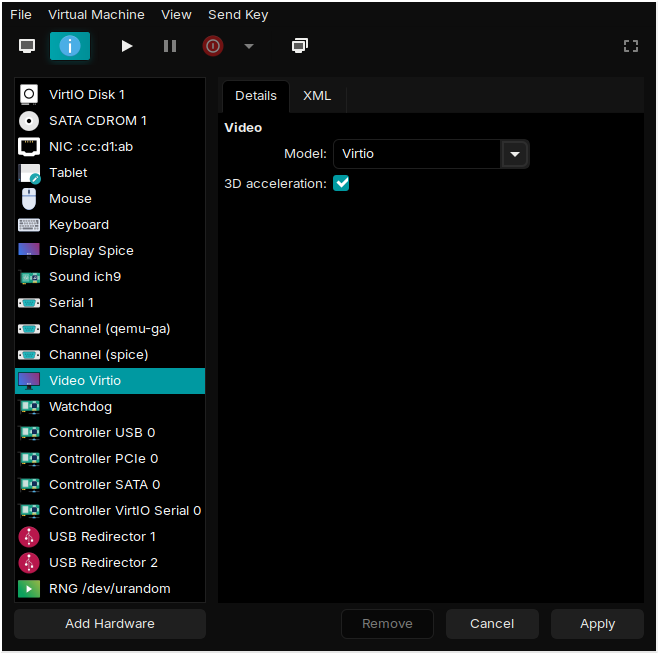
Using VirtIO its possible to create a virtual 3D accelerated GPU and pass through the hardware capabilities of the VM host's graphics card.
With the VM shutdown, open the VM hardware details window. Click on Video Virtio and set Model: Virtio, check the box for 3D acceleration, and Apply the modifications.
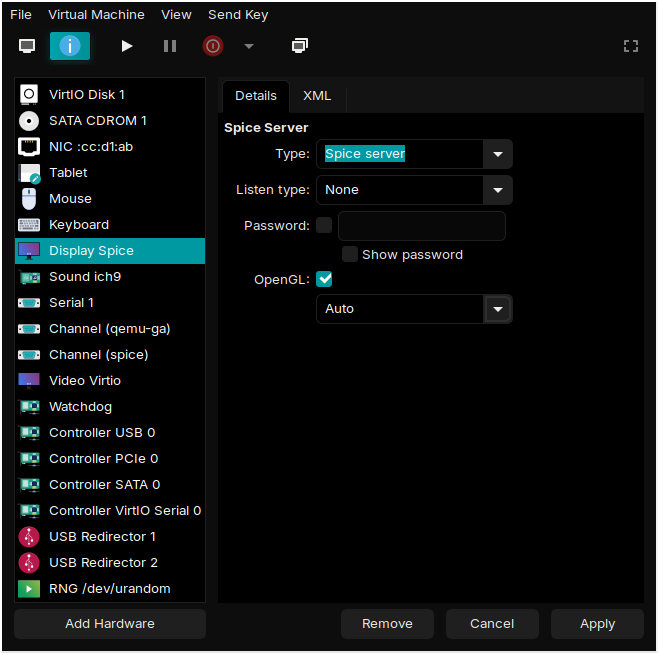
Click on Display Spice, set Type: Spice Server and Listen type: None, check the box for OpenGL, and Apply the modifications.
8. Virsh and virt-clone
Some useful commands:
- Start network:
virsh net-start <network_name> - List networks:
virsh net-list - List VMs:
virsh list --all - Start, reboot, and shutdown VM:
virsh start <VM>,virsh reboot <VM>, andvirsh shutdown <VM> - Show IP addresses:
virsh net-dhcp-leases <network_name>
9. Resources
- Void Linux Handbook: libvirt
- Arch Linux Wiki: libvirt
- Running VMs with VirtIO 3D Acceleration
You can like, share, or comment on this post on the Fediverse 💬
« Previous: Just Enough Void